Turns out setting it up and getting to a command line was a breeze, no monitor (etc.) required. All it took was an Ethernet cable and my router.
Here's what I did.
First, I wrote the operating system disk image to an SD card using the instructions on the Raspberry Pi Quick Start Guide.
- Downloaded the latest image from raspberrypi.org/downloads
- Extracted it and found the .img file
- Installed Win 32 Disk Imager
- Plugged in the SD card
- Used the disk imager to write the .img file to the drive for the SD card
I plugged the Raspberry Pi into the router using that Ethernet cable, then powered it up!
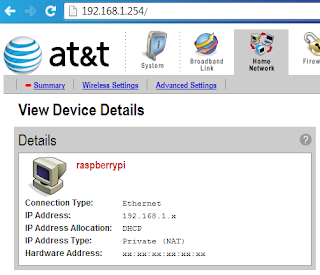
The next step will depend on your router but some routers will show you a list of the devices that are connected to the network from the admin screen. Here's an example
Armed with the IP address, you can ssh into the Raspberry Pi machine. (I used PuTTY.)
There you have it. From the command line you can configure whatever else is needed and you'll never have to scrounge up one of those pesky keyboards.

